The allure of a custom ring is undeniable—it’s a piece of wearable art, born from your unique vision and brought to life through the brilliance of cubic zirconia. Whether you’re dreaming of an engagement ring, a personal milestone piece, or a bold fashion statement, the process of creating something truly one-of-a-kind is an exciting journey. At CZDIA, we believe in democratizing access to premium jewelry materials, and that includes empowering you to design your own custom cubic zirconia ring. This guide will walk you through every step, from the first spark of an idea to the polished treasure on your finger.
Phase 1: The Genesis – Consultation and Conceptualization
Every custom ring begins not with a sketch, but with a conversation. This is the foundation upon which everything is built, requiring clear communication and creative synergy between you and the jewelry creator.
The Deep-Dive Consultation
The process starts with an in-depth consultation where you translate your emotions and abstract ideas into concrete design elements. Here are the key decisions you’ll make:
-
Inspiration and Story: What is the ring’s purpose? An engagement? A birthday gift? A personal milestone? Bring inspiration photos, sketches, or a collection of words that capture the desired feel—”vintage,” “modern,” “art deco,” or “bold.”
-
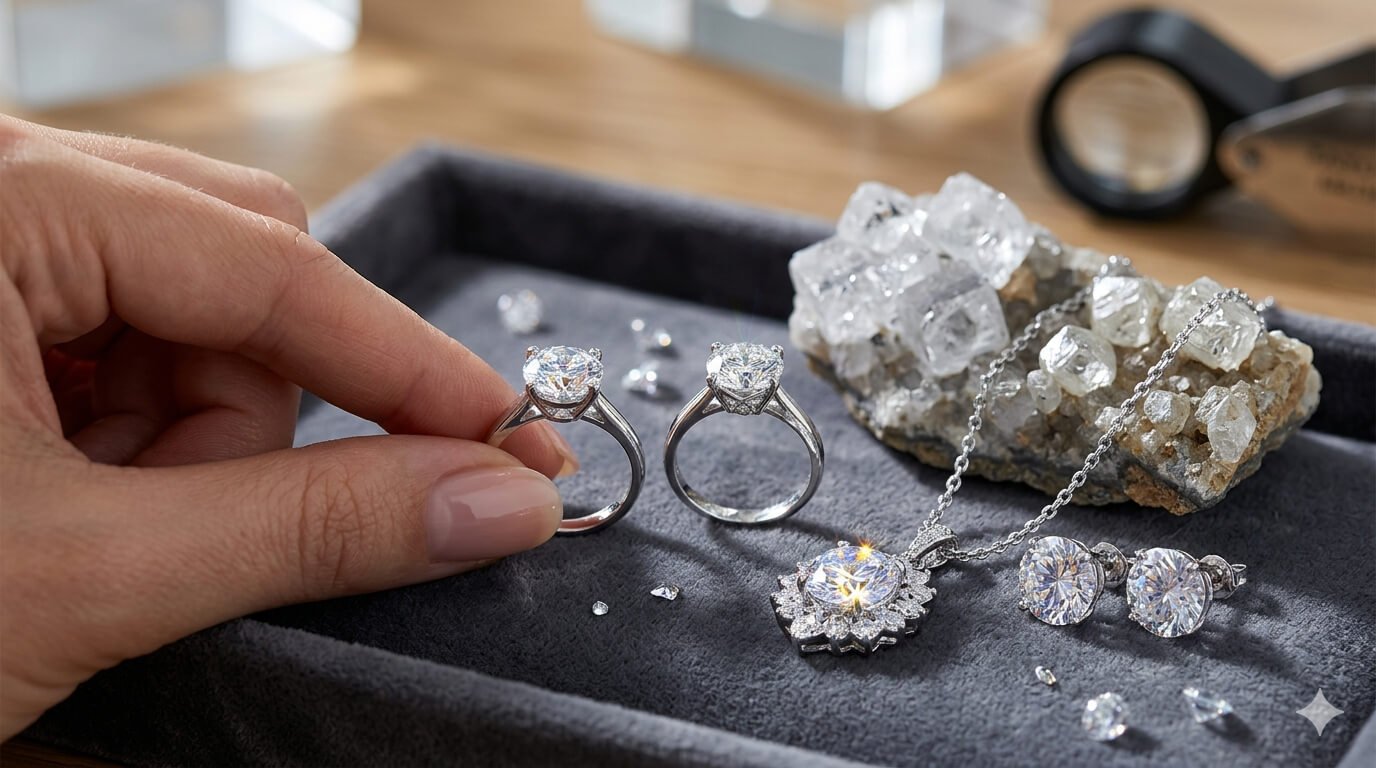
Stone Selection and Layout: This is where you choose the star of the show—the cubic zirconia. Decide on the primary stone’s shape (round brilliant, oval, cushion, emerald, pear, princess, heart, etc.) and size (measured in millimeters). Plan the layout: a solitary solitaire, a three-stone setting, a halo of smaller stones surrounding a centerpiece, or a fully pavéd band. The size of accent stones (e.g., 1mm, 1.5mm, 2mm) is also determined here.
-
Metal Choice: The base metal provides the structure and color. Common choices include:
-
Sterling Silver (925): A popular, affordable option consisting of 92.5% pure silver and 7.5% copper for strength.
-
Gold: Options include Yellow Gold, White Gold, and Rose Gold in various karats (10k, 14k, 18k). This is a premium choice.
-
Platinum: A dense, durable, and naturally white hypoallergenic metal, representing the pinnacle of luxury and price.
-
-
Design Details: This encompasses the ring’s profile (how high it sits on the finger), the shank style (comfort fit, flat, knife-edge, bypass), and any additional embellishments like milgrain, engraving, or filigree.
Adding a Personal Touch
What truly makes a ring yours are the personal details:
-
Engravings: Add a meaningful date, initials, or a short phrase to the inside of the band for sentimental value.
-
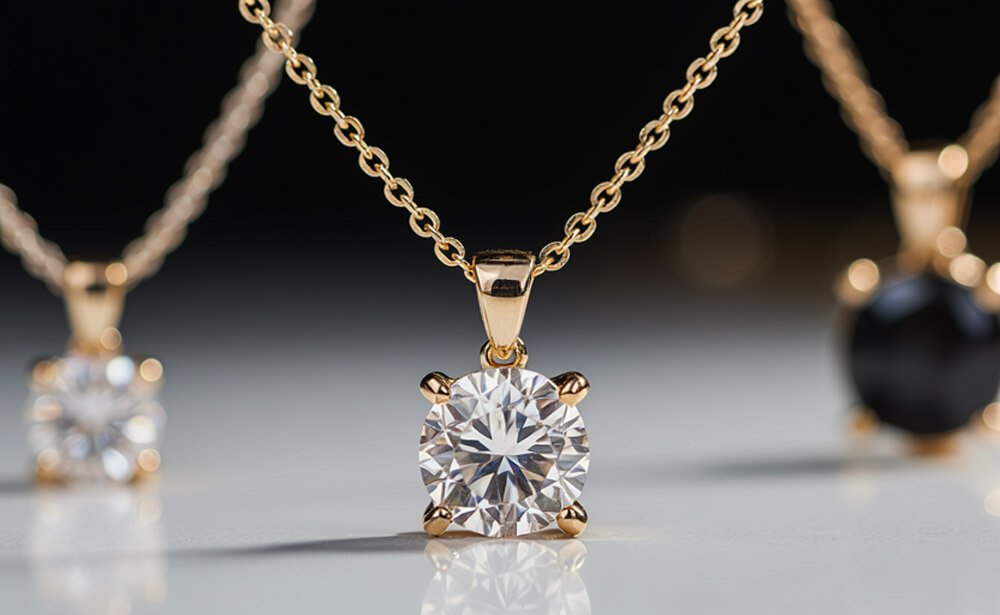
Colored CZ Stones: While classic CZ is clear and diamond-like, many customization options allow you to choose colored stones like sapphire blue, ruby red, emerald green, or soft pink to express your personality.
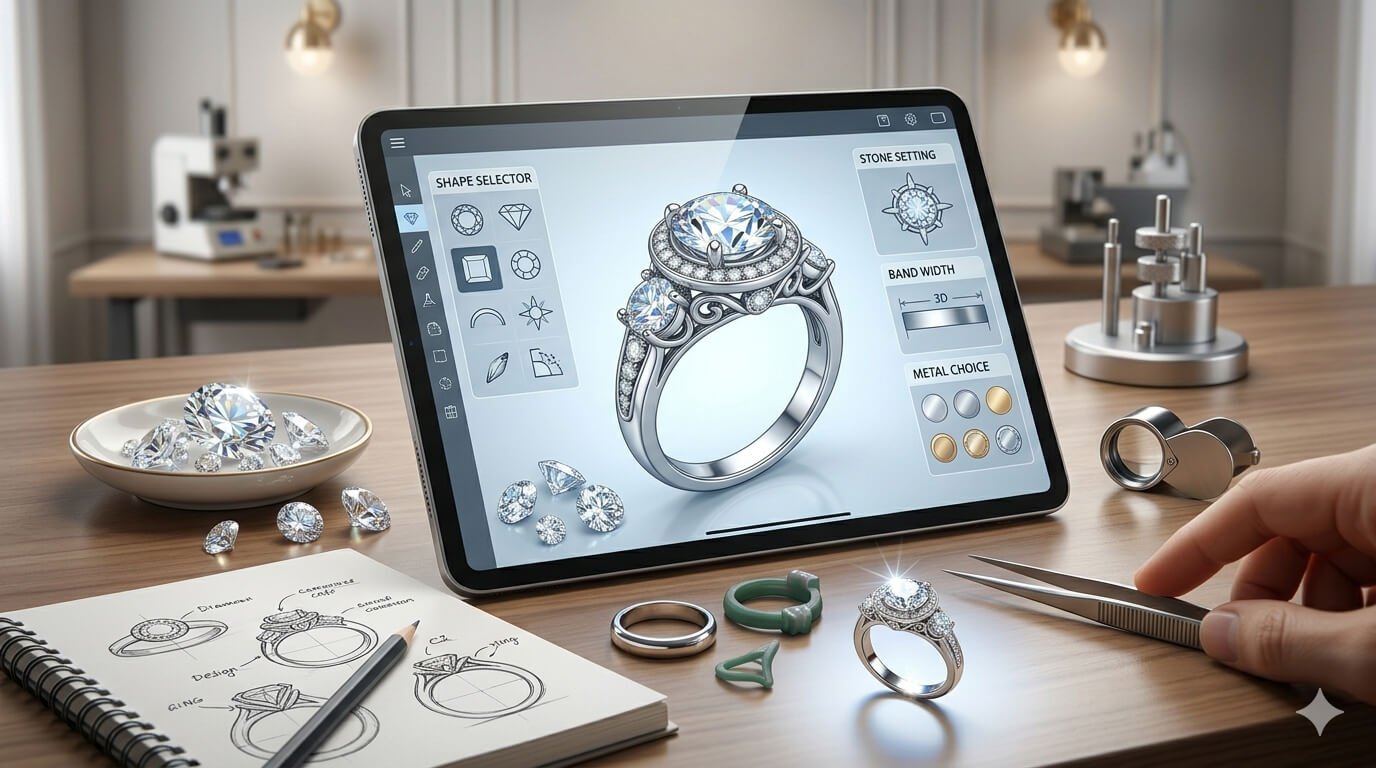
Phase 2: The Digital Blueprint – CAD Modeling
Once the conceptual design is approved, it enters the digital realm. A skilled CAD (Computer-Aided Design) technician uses specialized software to create a precise, three-dimensional model of the ring. This step is revolutionary for custom jewelry:
-
Precision Engineering: The CAD model is built to micron-level accuracy. The prong thickness, the depth of each stone’s setting, and the exact curvature of the band for a perfect fit are all mathematically defined.
-
Visualization: You’ll receive photorealistic renderings of the CAD model from every angle. You can see exactly how light will play off the surfaces and how the stones will be arranged. This eliminates guesswork and potential disappointment.
-
Iteration and Modification: Changes are effortless. Want to try a different stone shape? Make the band 0.5mm thicker? See how a hidden halo looks? The designer can alter the digital model in minutes, providing new renderings for approval until you are utterly delighted.
Tip: If you’re unsure about a design, some retailers offer “try-on” kits with sample rings made with cubic zirconia stones in various sizes, allowing you to see and feel the design before committing to the final piece.
Phase 3: From Virtual to Physical – Prototyping and Model Making
The approved digital design must now take a tangible form to verify its aesthetics and ergonomics before committing to precious metal.
3D Printing (Rapid Prototyping)
The CAD file is sent to a high-resolution 3D printer. Using technologies like Stereolithography (SLA) or Digital Light Processing (DLP), the printer builds the ring layer by layer from a liquid UV-sensitive resin that hardens upon exposure to a laser or projector. The result is a precise, durable resin prototype of the ring. This allows you to:
Assess the actual size, scale, and proportion on the finger.
Check the comfort and fit of the band.
Verify the overall aesthetic and presence before moving to metal.
Phase 4: The Lost-Wax Casting Process
This ancient technique, refined over millennia and enhanced by modern technology, is the primary method for transforming the design into metal.
Creating the Wax Pattern
If you’re happy with the resin prototype, it can be used directly as a pattern for casting. The prototype is attached to a wax “tree” with wax rods to create channels for molten metal. It is then placed in a flask and surrounded by a liquid investment plaster slurry.
The “Lost-Wax” Burnout
The flask is placed in a kiln and heated to a specific cycle. This heat cures the investment into a hard mold and simultaneously “burns out” the resin prototype, vaporizing it completely and leaving behind a perfect, hollow cavity in the shape of the ring.
Casting the Metal
The hot flask is immediately transferred to a casting machine. Molten metal (e.g., sterling silver or gold) is forced into the hollow mold by centrifugal force or vacuum. The metal fills the cavity, taking the exact shape of the original prototype.
Devesting and Cutting
After cooling, the flask is quenched in water, causing the brittle investment material to crack away. This reveals a “tree” of metal rings, now called “castings,” still attached to the central sprue. These rough, matte-finish castings are cut from the tree and are ready for the first steps of finishing.
Phase 5: The Art of Finishing
The raw casting is far from finished. This stage transforms it into a refined piece of jewelry.
Initial Cleaning and Pre-Polishing
The ring undergoes “tumbling,” where it is placed in a rotating drum with stainless steel shots and a cleaning compound. This process work-hardens the metal, removes surface imperfections, and begins the polishing process. Any remaining sprue marks or major flaws are carefully filed away by hand.
The Crucial Step: Stone Setting
This is one of the most skilled and precise disciplines in jewelry making. A master setter takes over.
Preparing the Seat: Using a microscope and ultra-fine burs, the setter carefully cleans and cuts the exact seats for each CZ stone. The depth and angle must be perfect to ensure the stone sits flush and secure.
The Setting Process: Using specialized tools, the setter places each stone into its seat. Common setting types include:
Prong Setting: The most common method for larger stones. The setter carefully pushes and shapes metal prongs over the girdle of the stone to secure it.
Pavé Setting: For surfaces covered in small stones. The setter raises tiny beads of metal from the surrounding surface and smooths them over the stones’ edges, creating a “paved” effect.
Bezel Setting: A strip of metal surrounds the girdle of the stone.
The setter’s job is to ensure every stone is perfectly level, secure, and oriented to maximize its brilliance.
Final Polishing and Plating
After the stones are securely set, the ring enters the final polishing stage. It is polished on rotating wheels with increasingly fine abrasives to achieve a mirror-bright finish. If the design calls for it, the ring is now plated—for example, a sterling silver ring might be plated with rhodium for a brighter white finish and increased tarnish resistance.
Phase 6: Quality Assurance
Before the ring can be presented, it must pass a rigorous, multi-point inspection.
Visual Inspection: Every surface is checked for polishing marks, plating inconsistencies, or any other flaws.
Structural Integrity: The shank is checked for roundness and strength. Prongs are tested for security.
Stone Check: Every CZ is verified for security (no movement), absence of chips or scratches, and correct alignment.
Dimension Check: The ring size is verified with a mandrel.
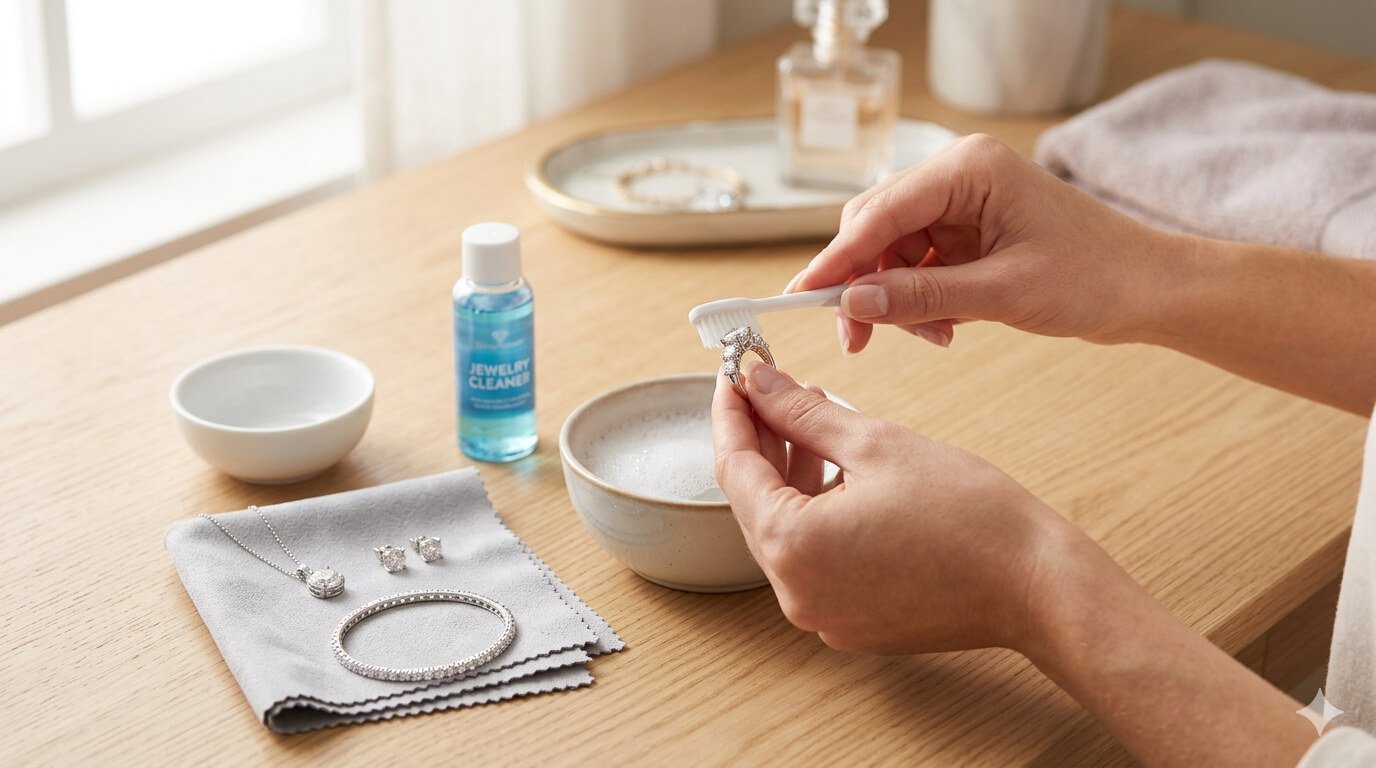
Final Cleaning: The ring is given a final steam clean or ultrasonic bath to remove any dust or fingerprints.
Bottom Line
Designing your own custom cubic zirconia ring is a deeply personal and rewarding experience. From choosing the perfect stone shape and metal to adding meaningful engravings, every decision reflects your unique style. By following these steps and partnering with a skilled jeweler who uses high-quality 5A+ cubic zirconia, you can create a stunning piece that will be cherished for years to come.
At CZDIA, we’re committed to democratizing access to premium jewelry materials. Whether you’re designing a single custom ring or sourcing for a wholesale collection, we provide the brilliance and quality you deserve. Start your journey today and bring your dream ring to life.